Generating a Photo Roster for Your Course
Blackboard allows you to list students in your course,
but that provides you only with the name, user name, and e-mail address of your students. We have created a custom add-on to
Blackboard that allows you to generate a photo roster for your course, pulling the pictures for the roster from the campus directory,
and allowing you to see as well other very useful information about your students (class year and major, for example). Since we enroll students in Blackboard courses automatically starting two weeks before a semester begins, and since we update rosters every night with information pulled from Banner, the photo roster feature will allow you to learn the students names in your course either before the course meets or once the roster has stabilized for your course. To generate such a photo roster:
- You can access your Blackboard course by logging in to
myBucknell (opens in new window) and by clicking on the relevant course listing in the My Blackboard "gadget" on that page or by logging in directly to
Blackboard
(opens in new window).
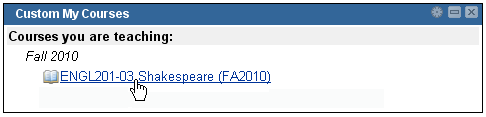
- If you are on the main My Blackboard page in Blackboard, you can access your course by finding it in the Custom My Courses module in the middle column on that page and then clicking on the link for the course:
- To edit your course in Blackboard, you need to make sure that the Edit Mode switch at the top-right corner of the page is in the On position, which it should be by default:

If the Edit Mode is in the off position, you need to click on that switch to turn editing mode back on.
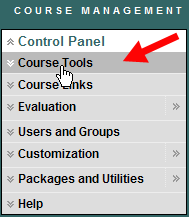
- Within the Control Panel area at the bottom-left side of the page, click on the Course Tools link in order to exapand the tools available to you:
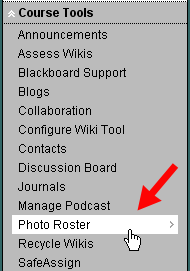
- Within the expanded list of Course Tools, click on the
Photo Roster link:
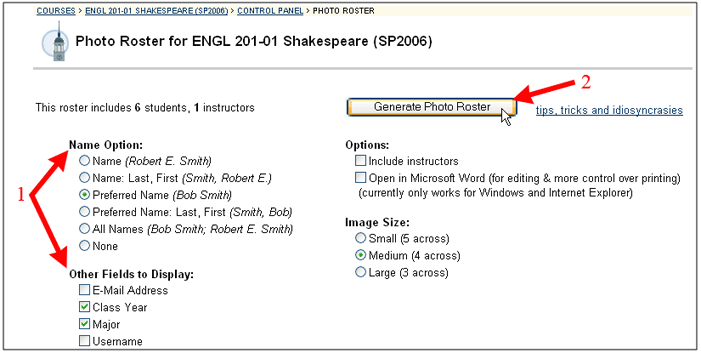
- Choose the options you want for how to display the names of your students and what other information to include on the page: for example,
Class Year and Major. Then click on the Generate Photo Roster button to open up a new browser window with the
photo roster for your course:
- You can print out the photo roster with names (and other desired information) and bring it to class, and you can also print a version of the roster that doesn't include the students' names as a way to learn those names outside of class time.
- Once you've printed out the roster, you can close that second browser window, and you can use the bread-crumb trail near the top of the page to return to the main entry page for your course:

Last revised August 14, 2009. Please send questions or comments to itec@bucknell.edu.
|